Jira Automation
Teams can decide how they want to trigger Autonomous Coding Agent from Jira. The automation rule can be based on comments, status changes, labels, issue types, or any other Jira automation condition that fits the team's workflow.
The important part is that the rule sends the correct web request to Autonomous Coding Agent.
Required Web Request Details
Support provides the team with:
- The webhook URL
- The Jira webhook key
Every Jira automation rule that starts an agent must send:
- A web request to the webhook URL
- The webhook key, as provided by support
- A JSON payload that matches the expected schema
Keep the webhook key private. Anyone with the webhook URL and key may be able to start an agent for the configured team and Jira project.
Example: Trigger From An Issue Comment
The following example shows one possible setup: start the agent when a Jira issue is commented.
You can adapt the trigger, conditions, and prompt text to match your team's workflow.
1. Create A Rule
Open the Jira project where the agent should be available, then go to Project settings -> Automation -> Create rule.
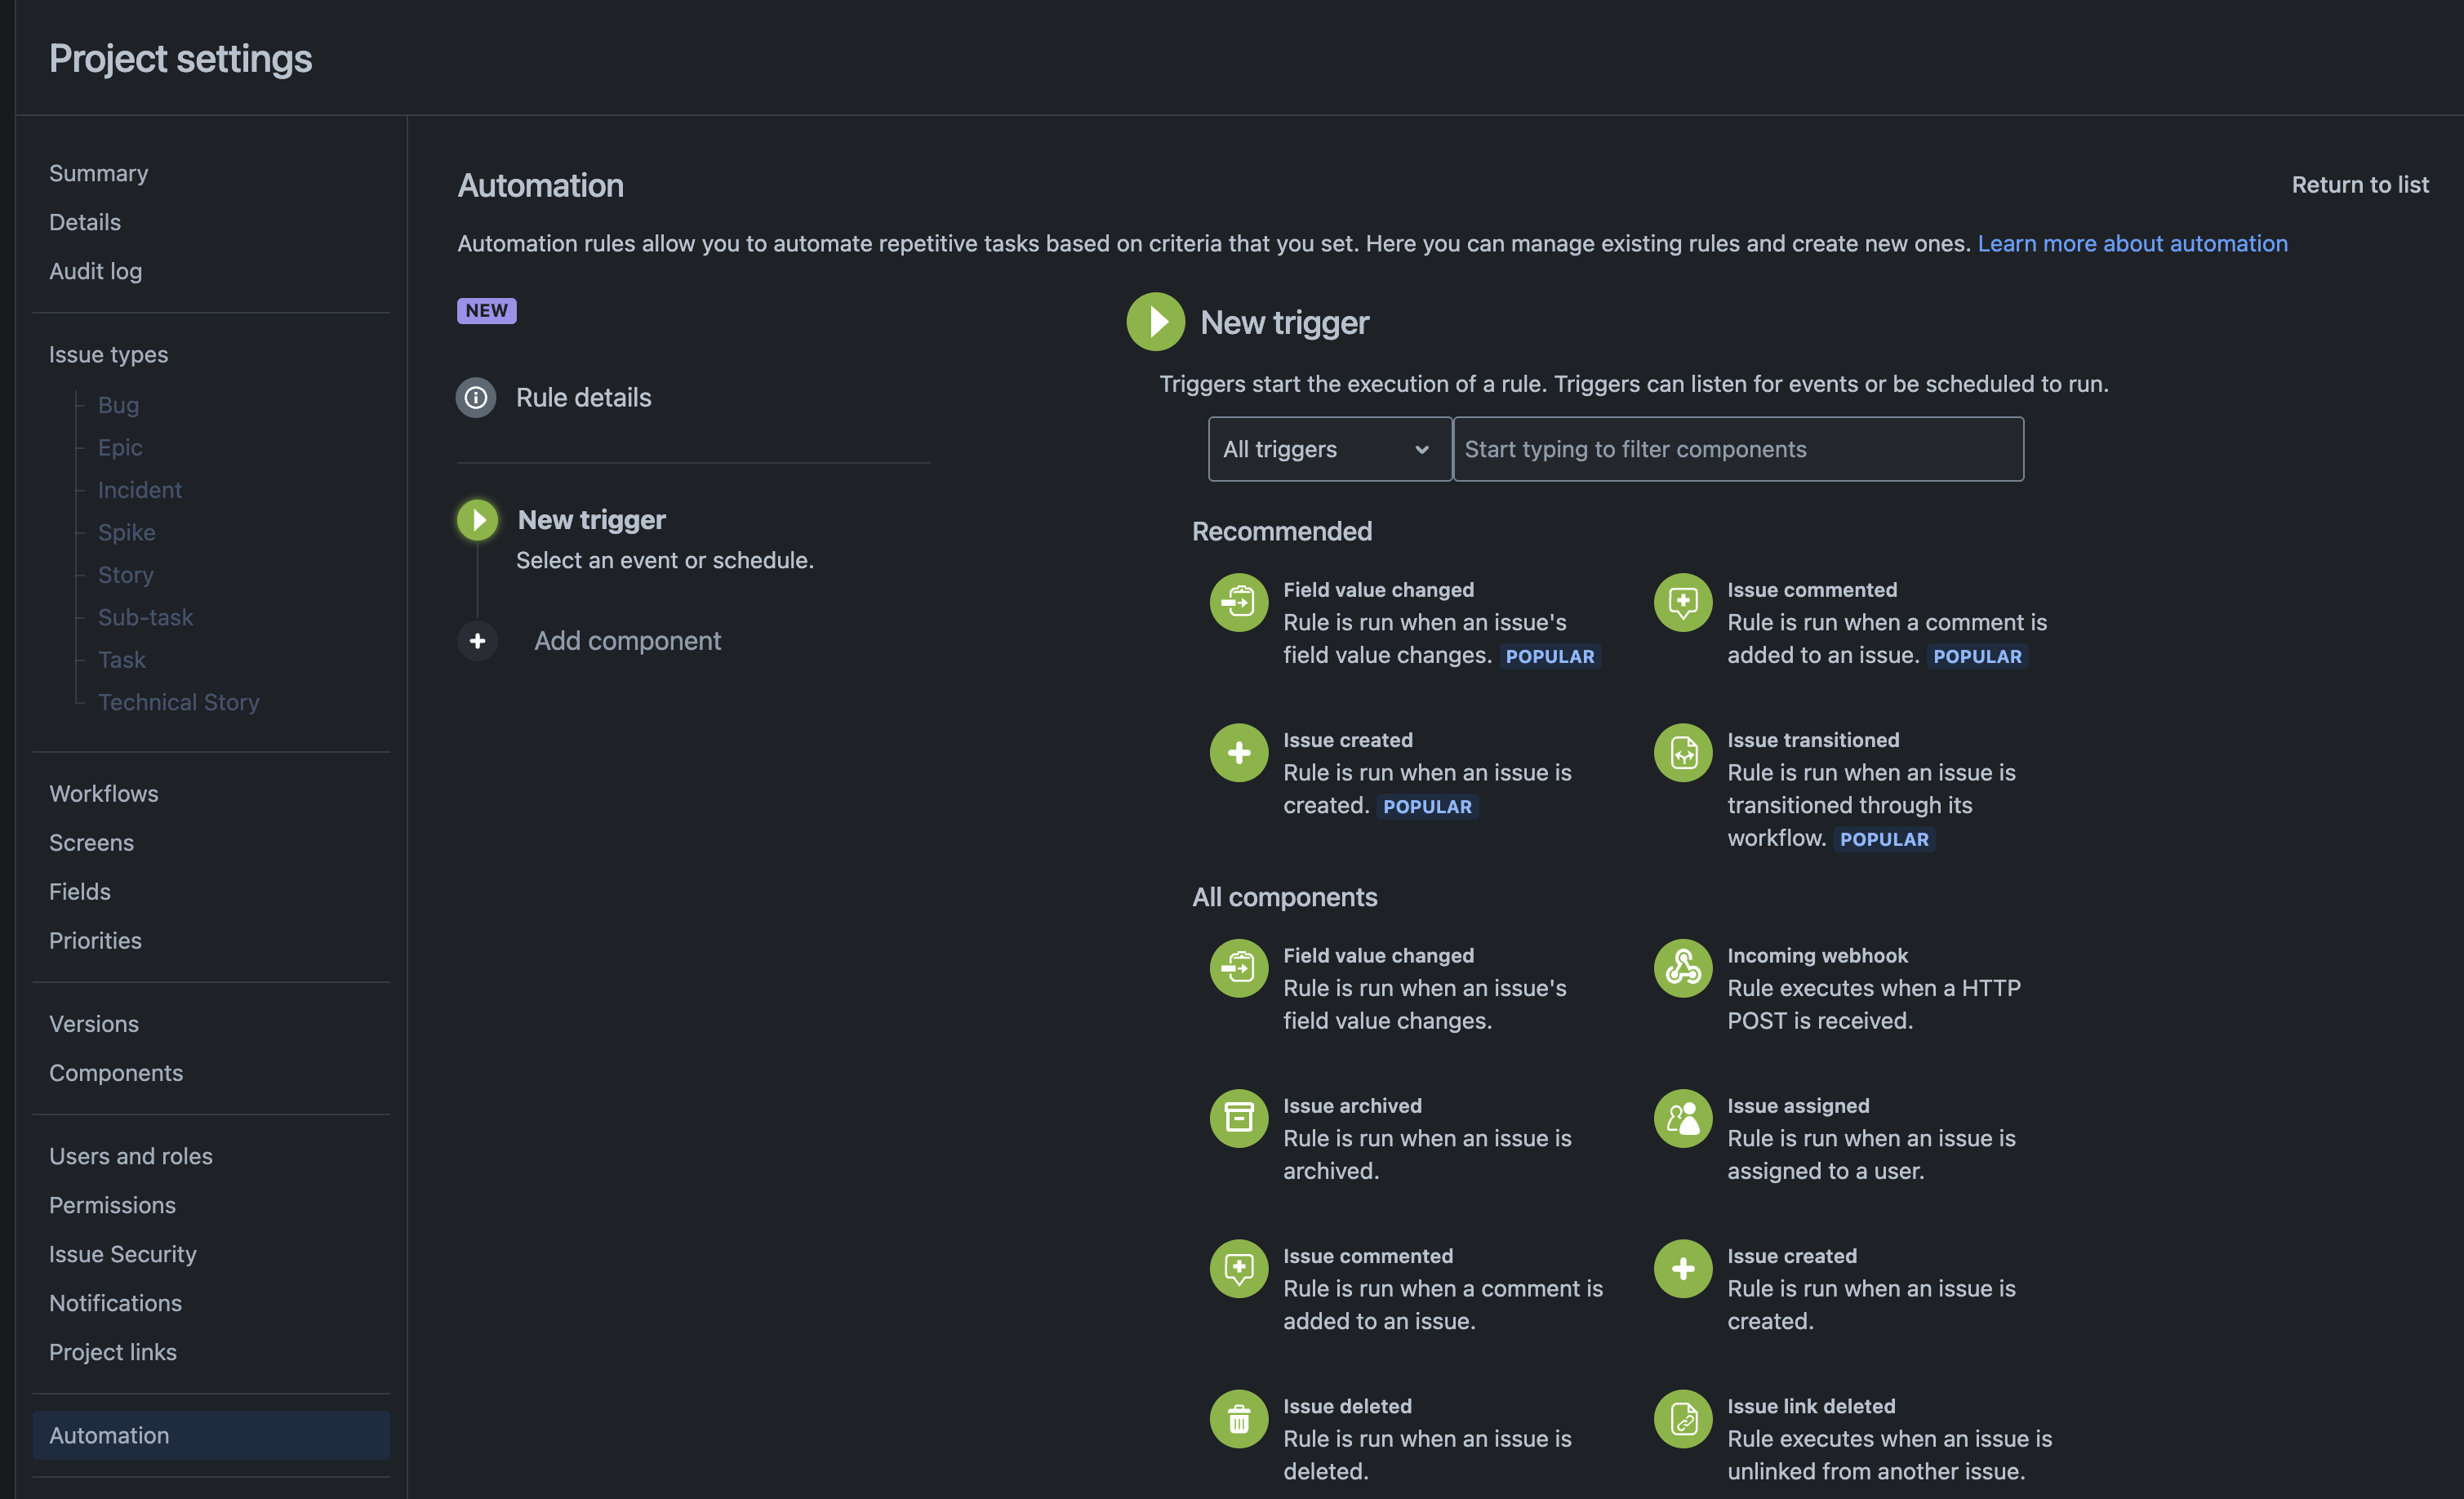
2. Select The Trigger
Choose a trigger for the rule. In this example, use an issue comment trigger so the agent can be started from a Jira comment.
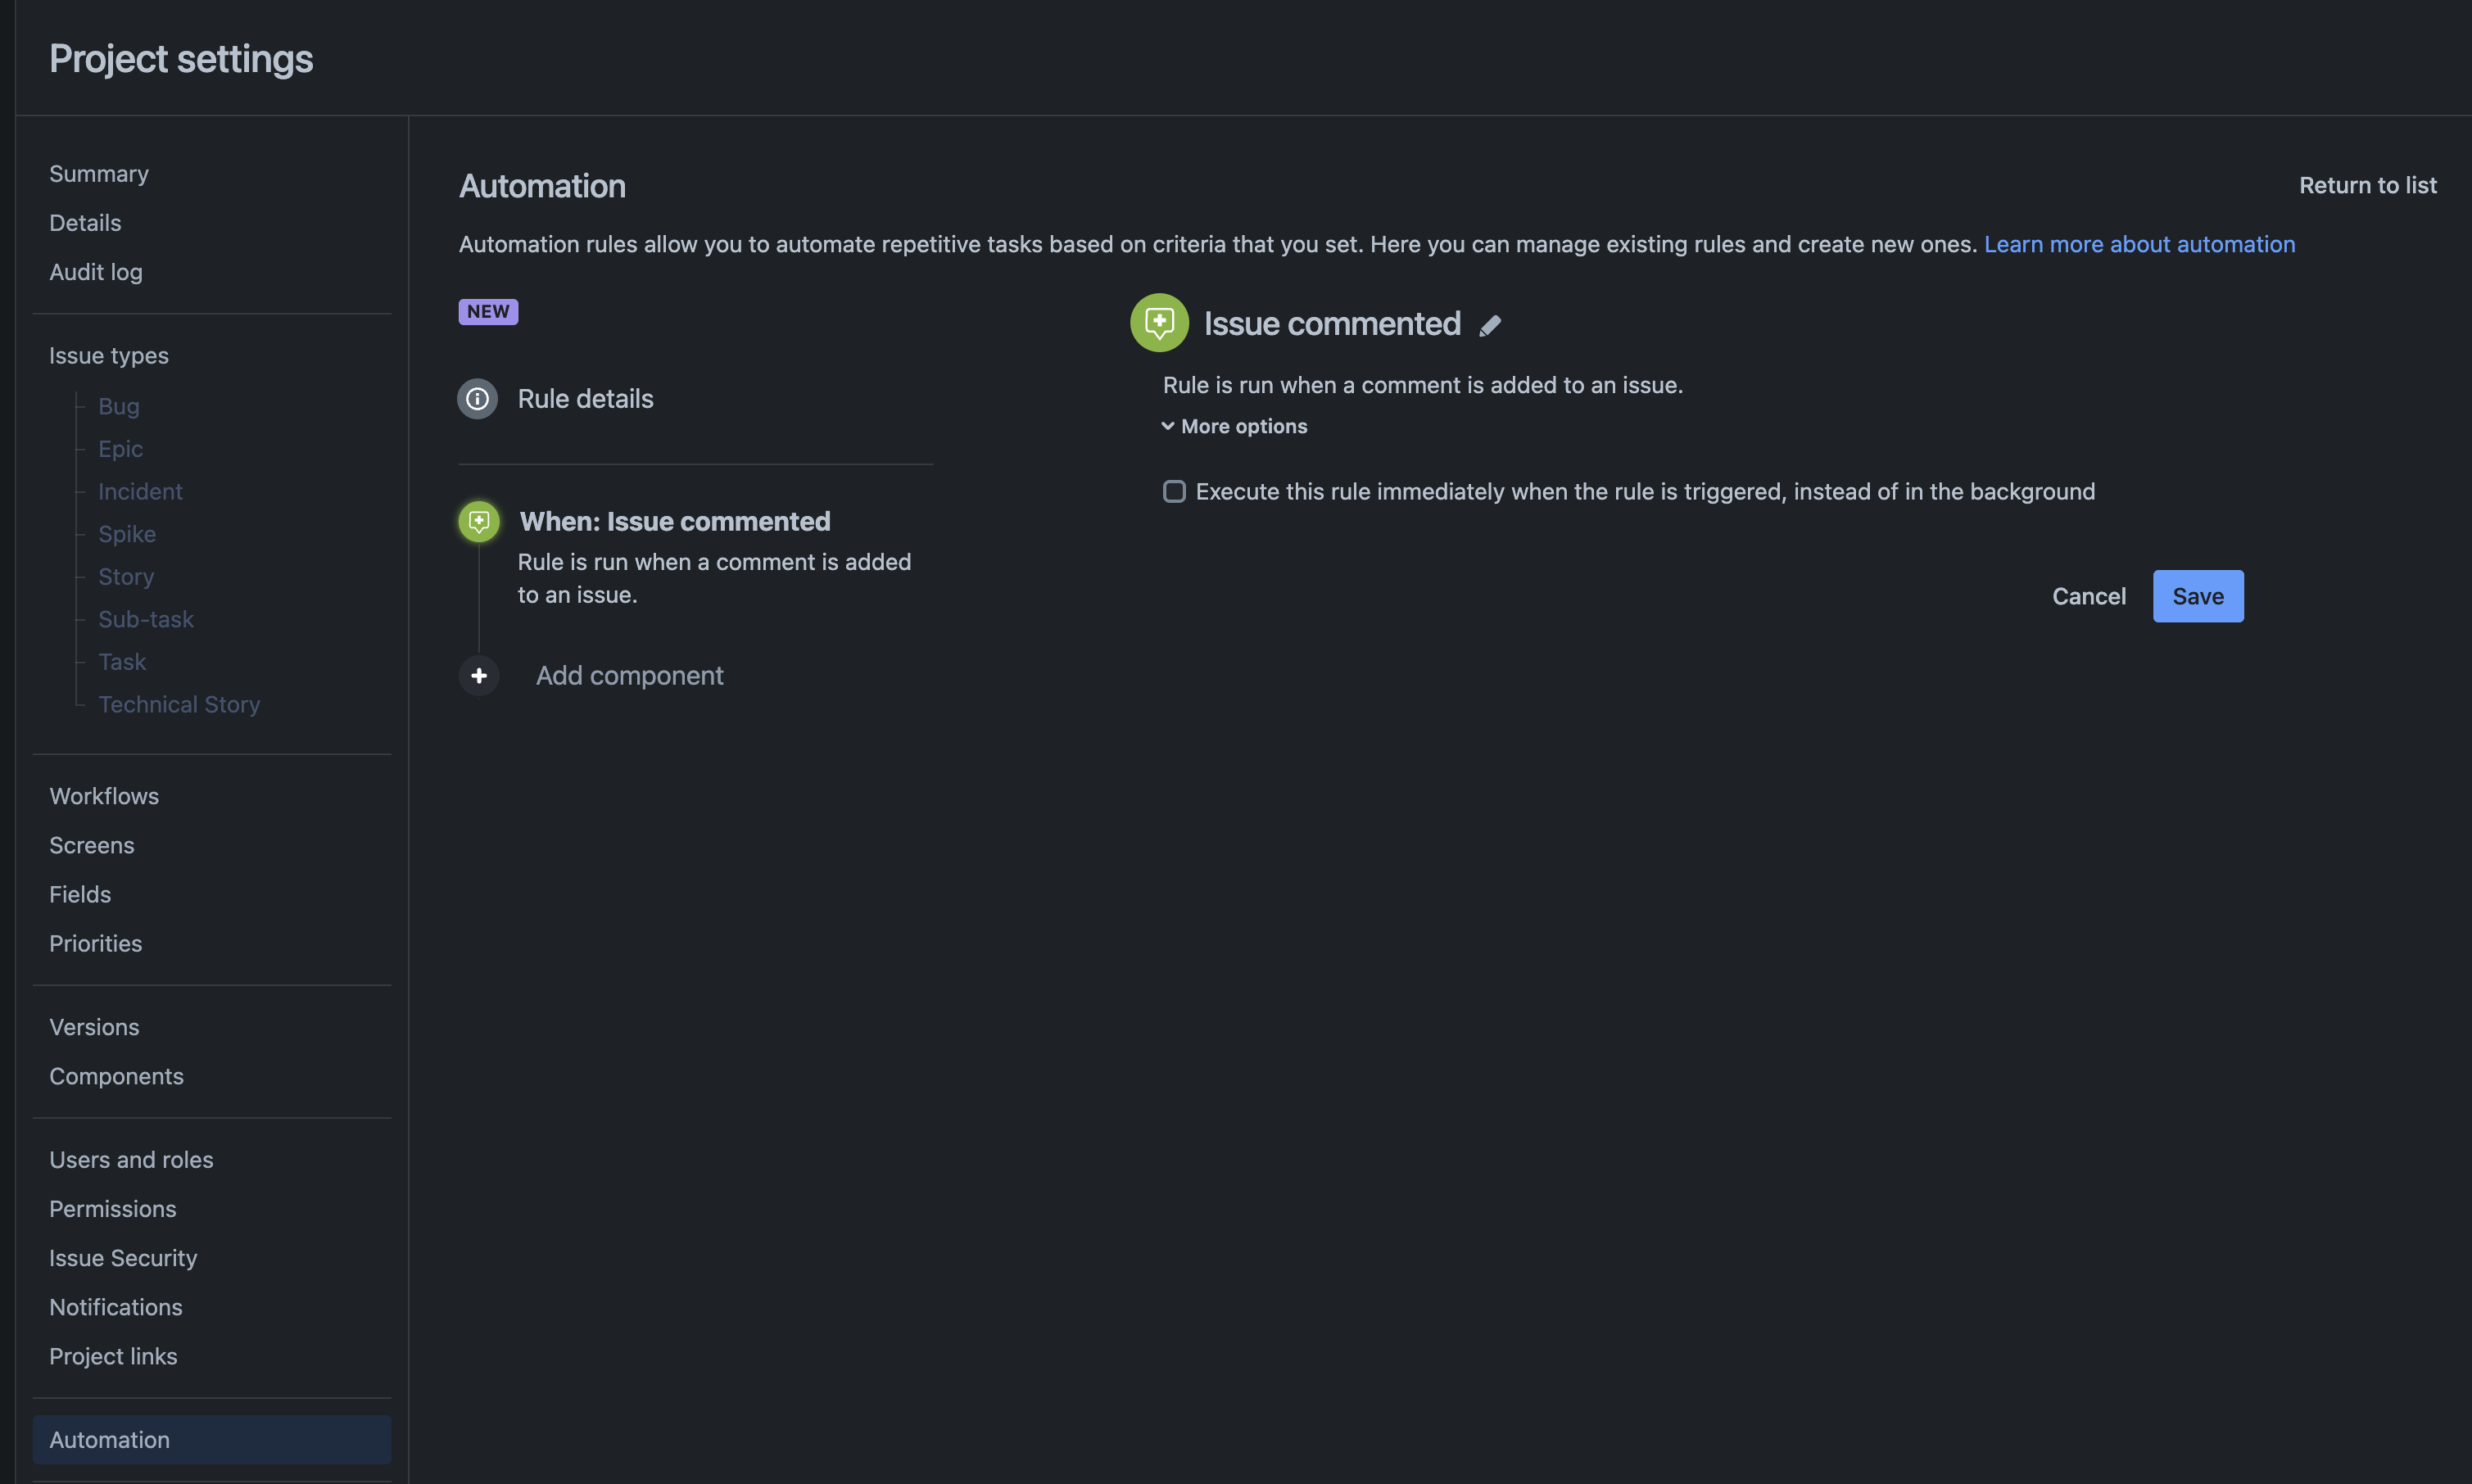
3. Add Conditions
Add conditions so the rule only starts the agent when intended.
For example, a team may require a specific text pattern in the comment, such as an agent mention or command. This prevents every issue comment from triggering the agent.
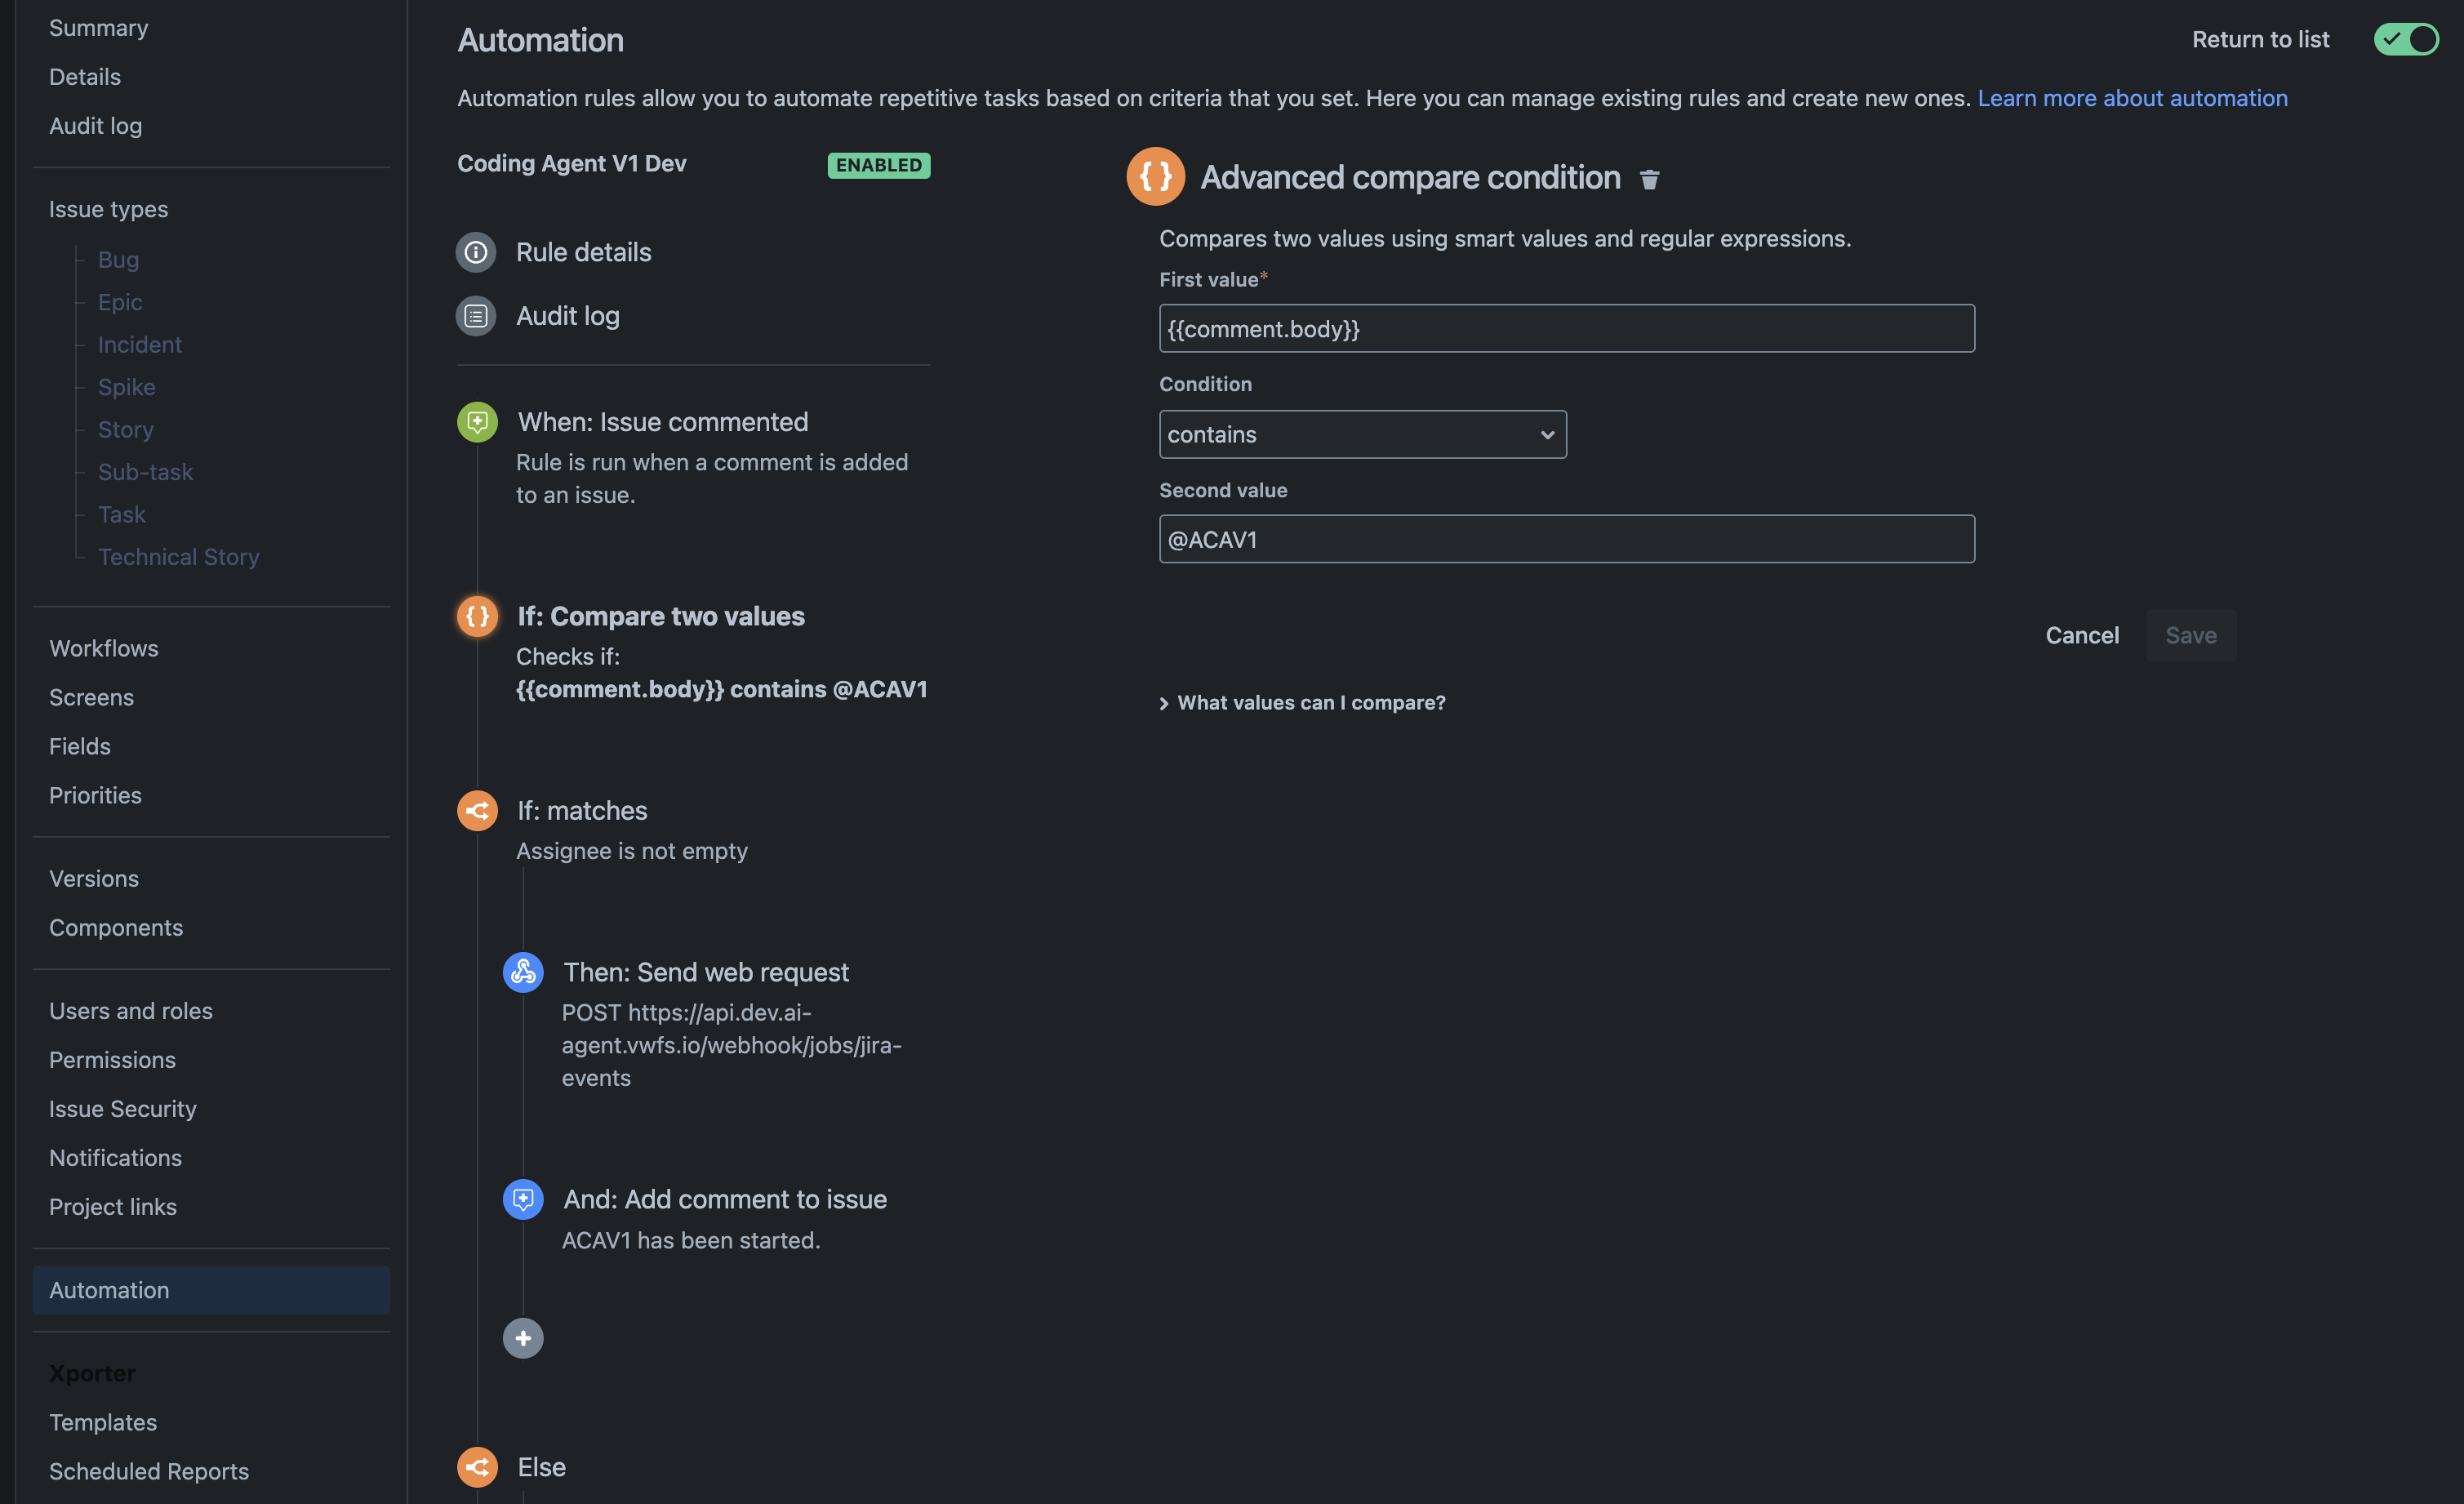
4. Configure The Condition
Configure the condition according to your team's preferred trigger pattern.
The exact condition is up to the team. The goal is to make the rule explicit enough that users understand when the agent will start.
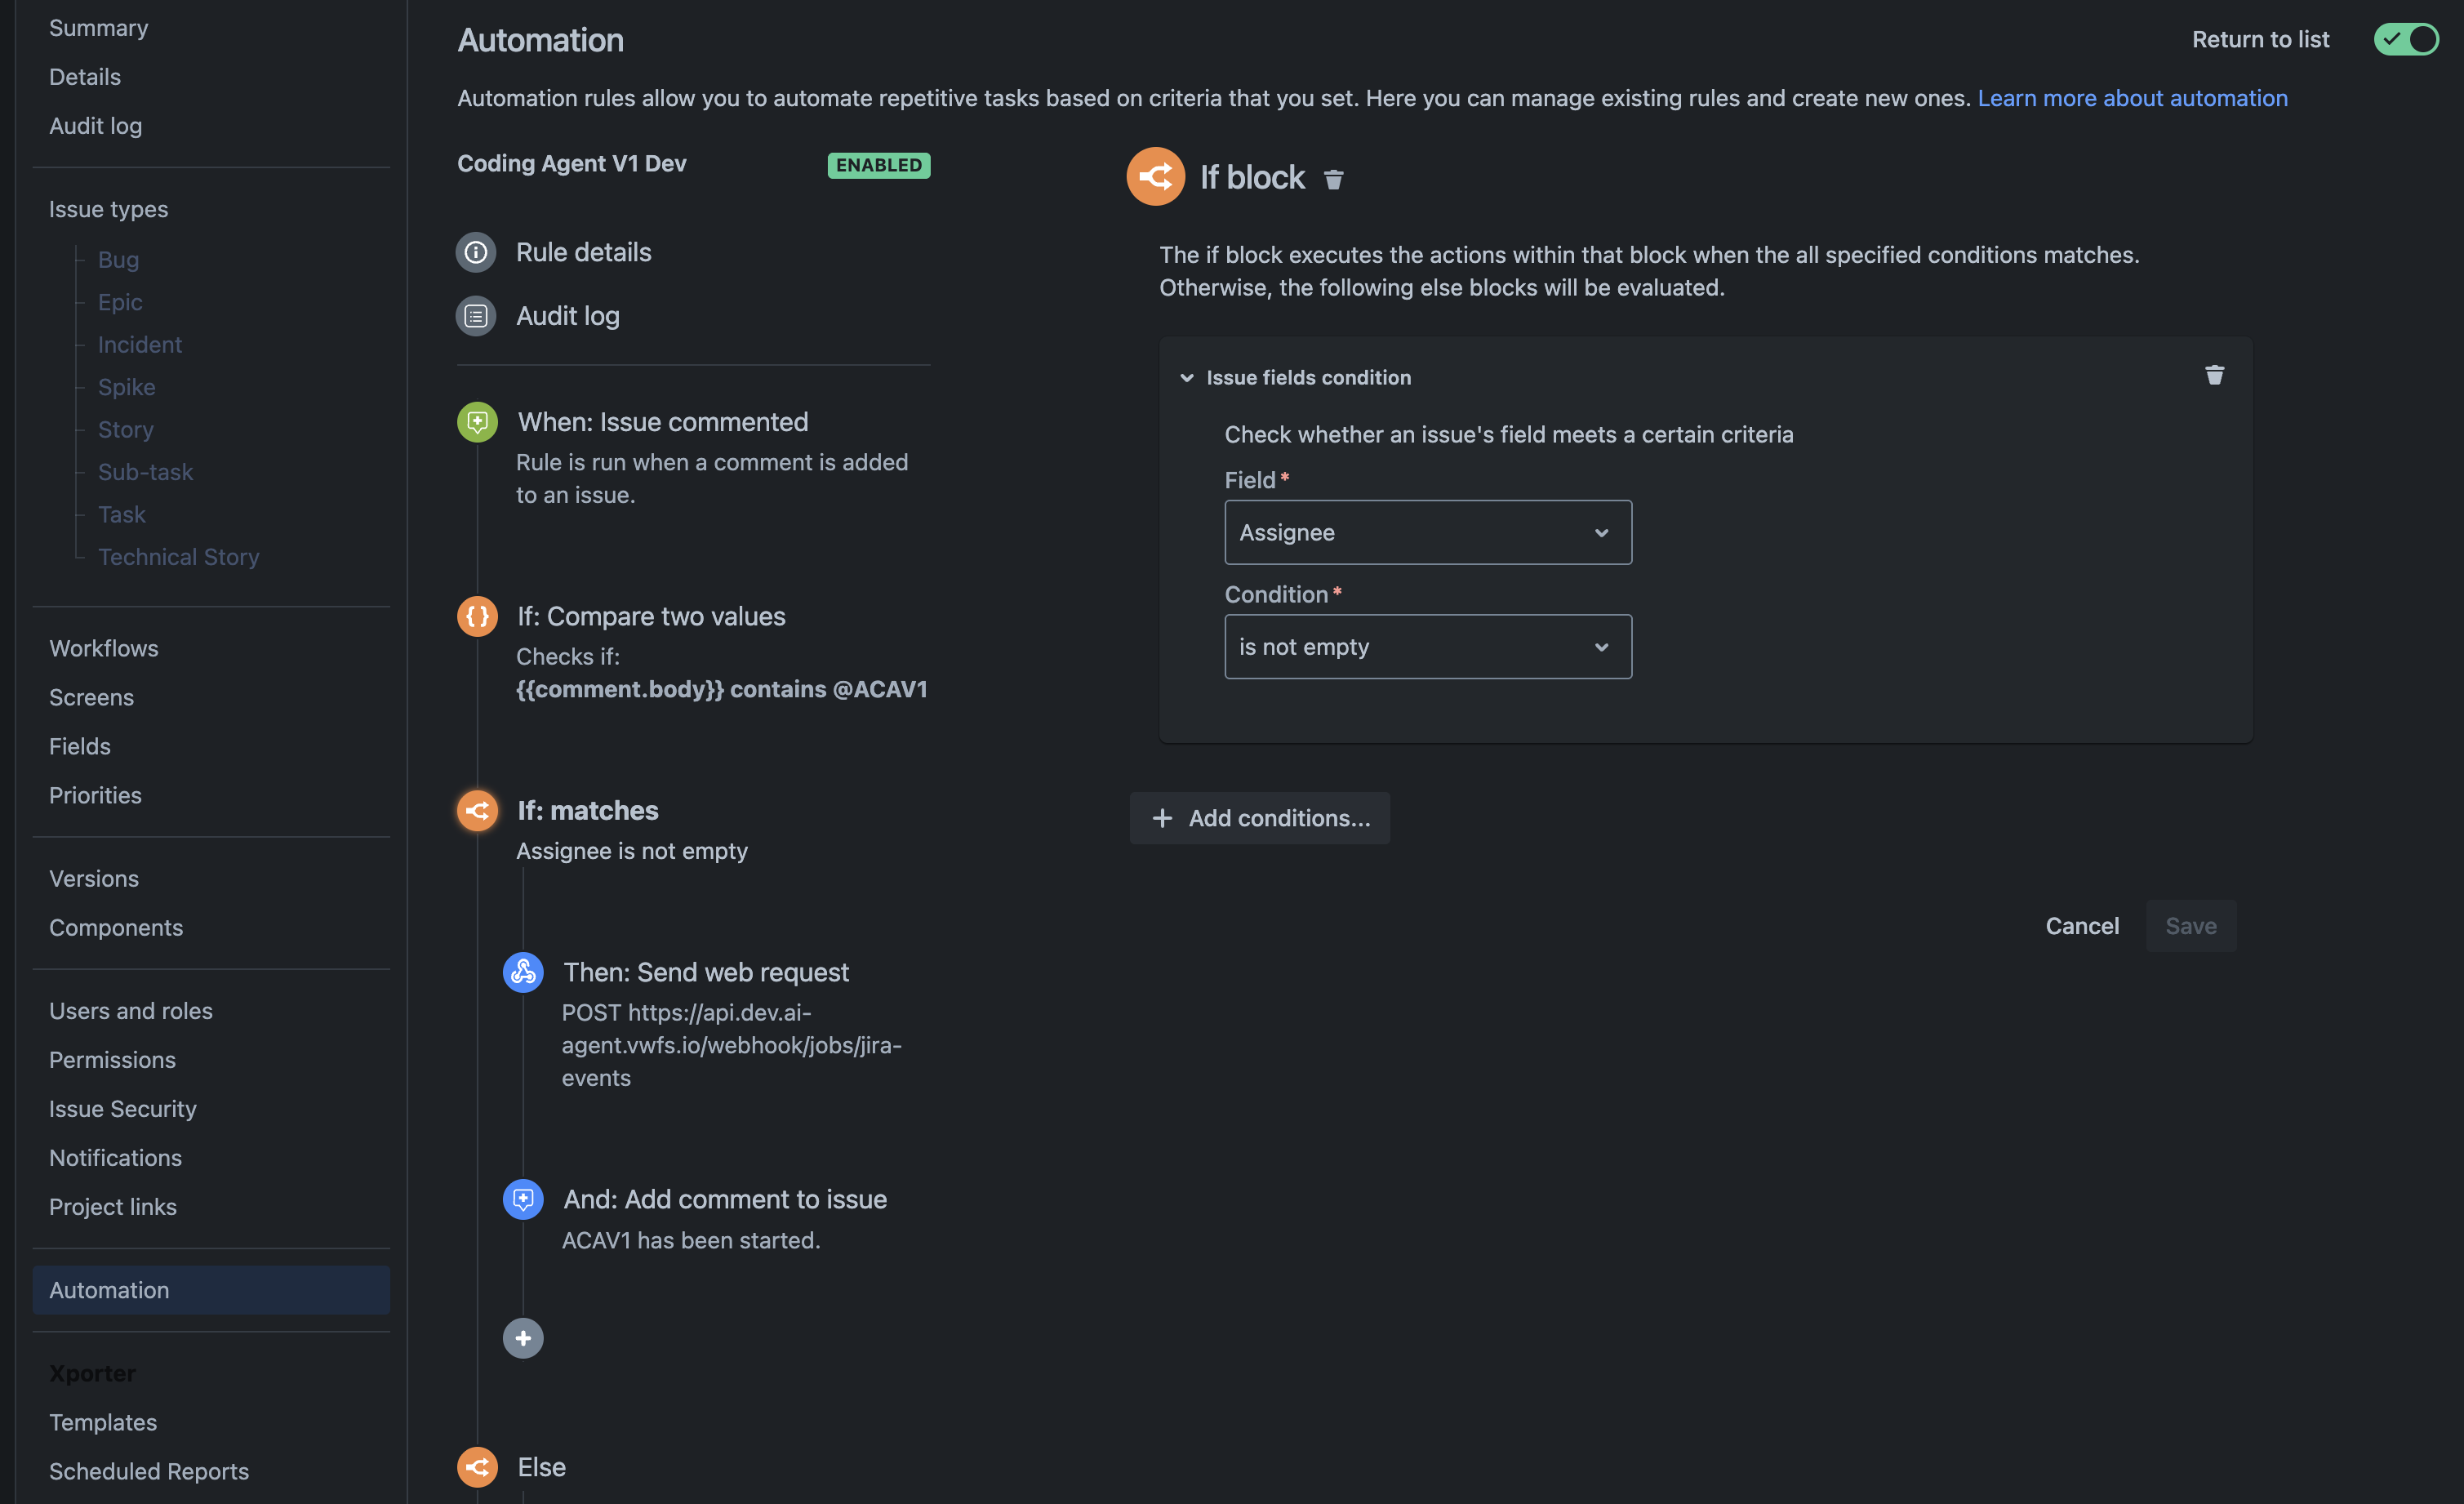
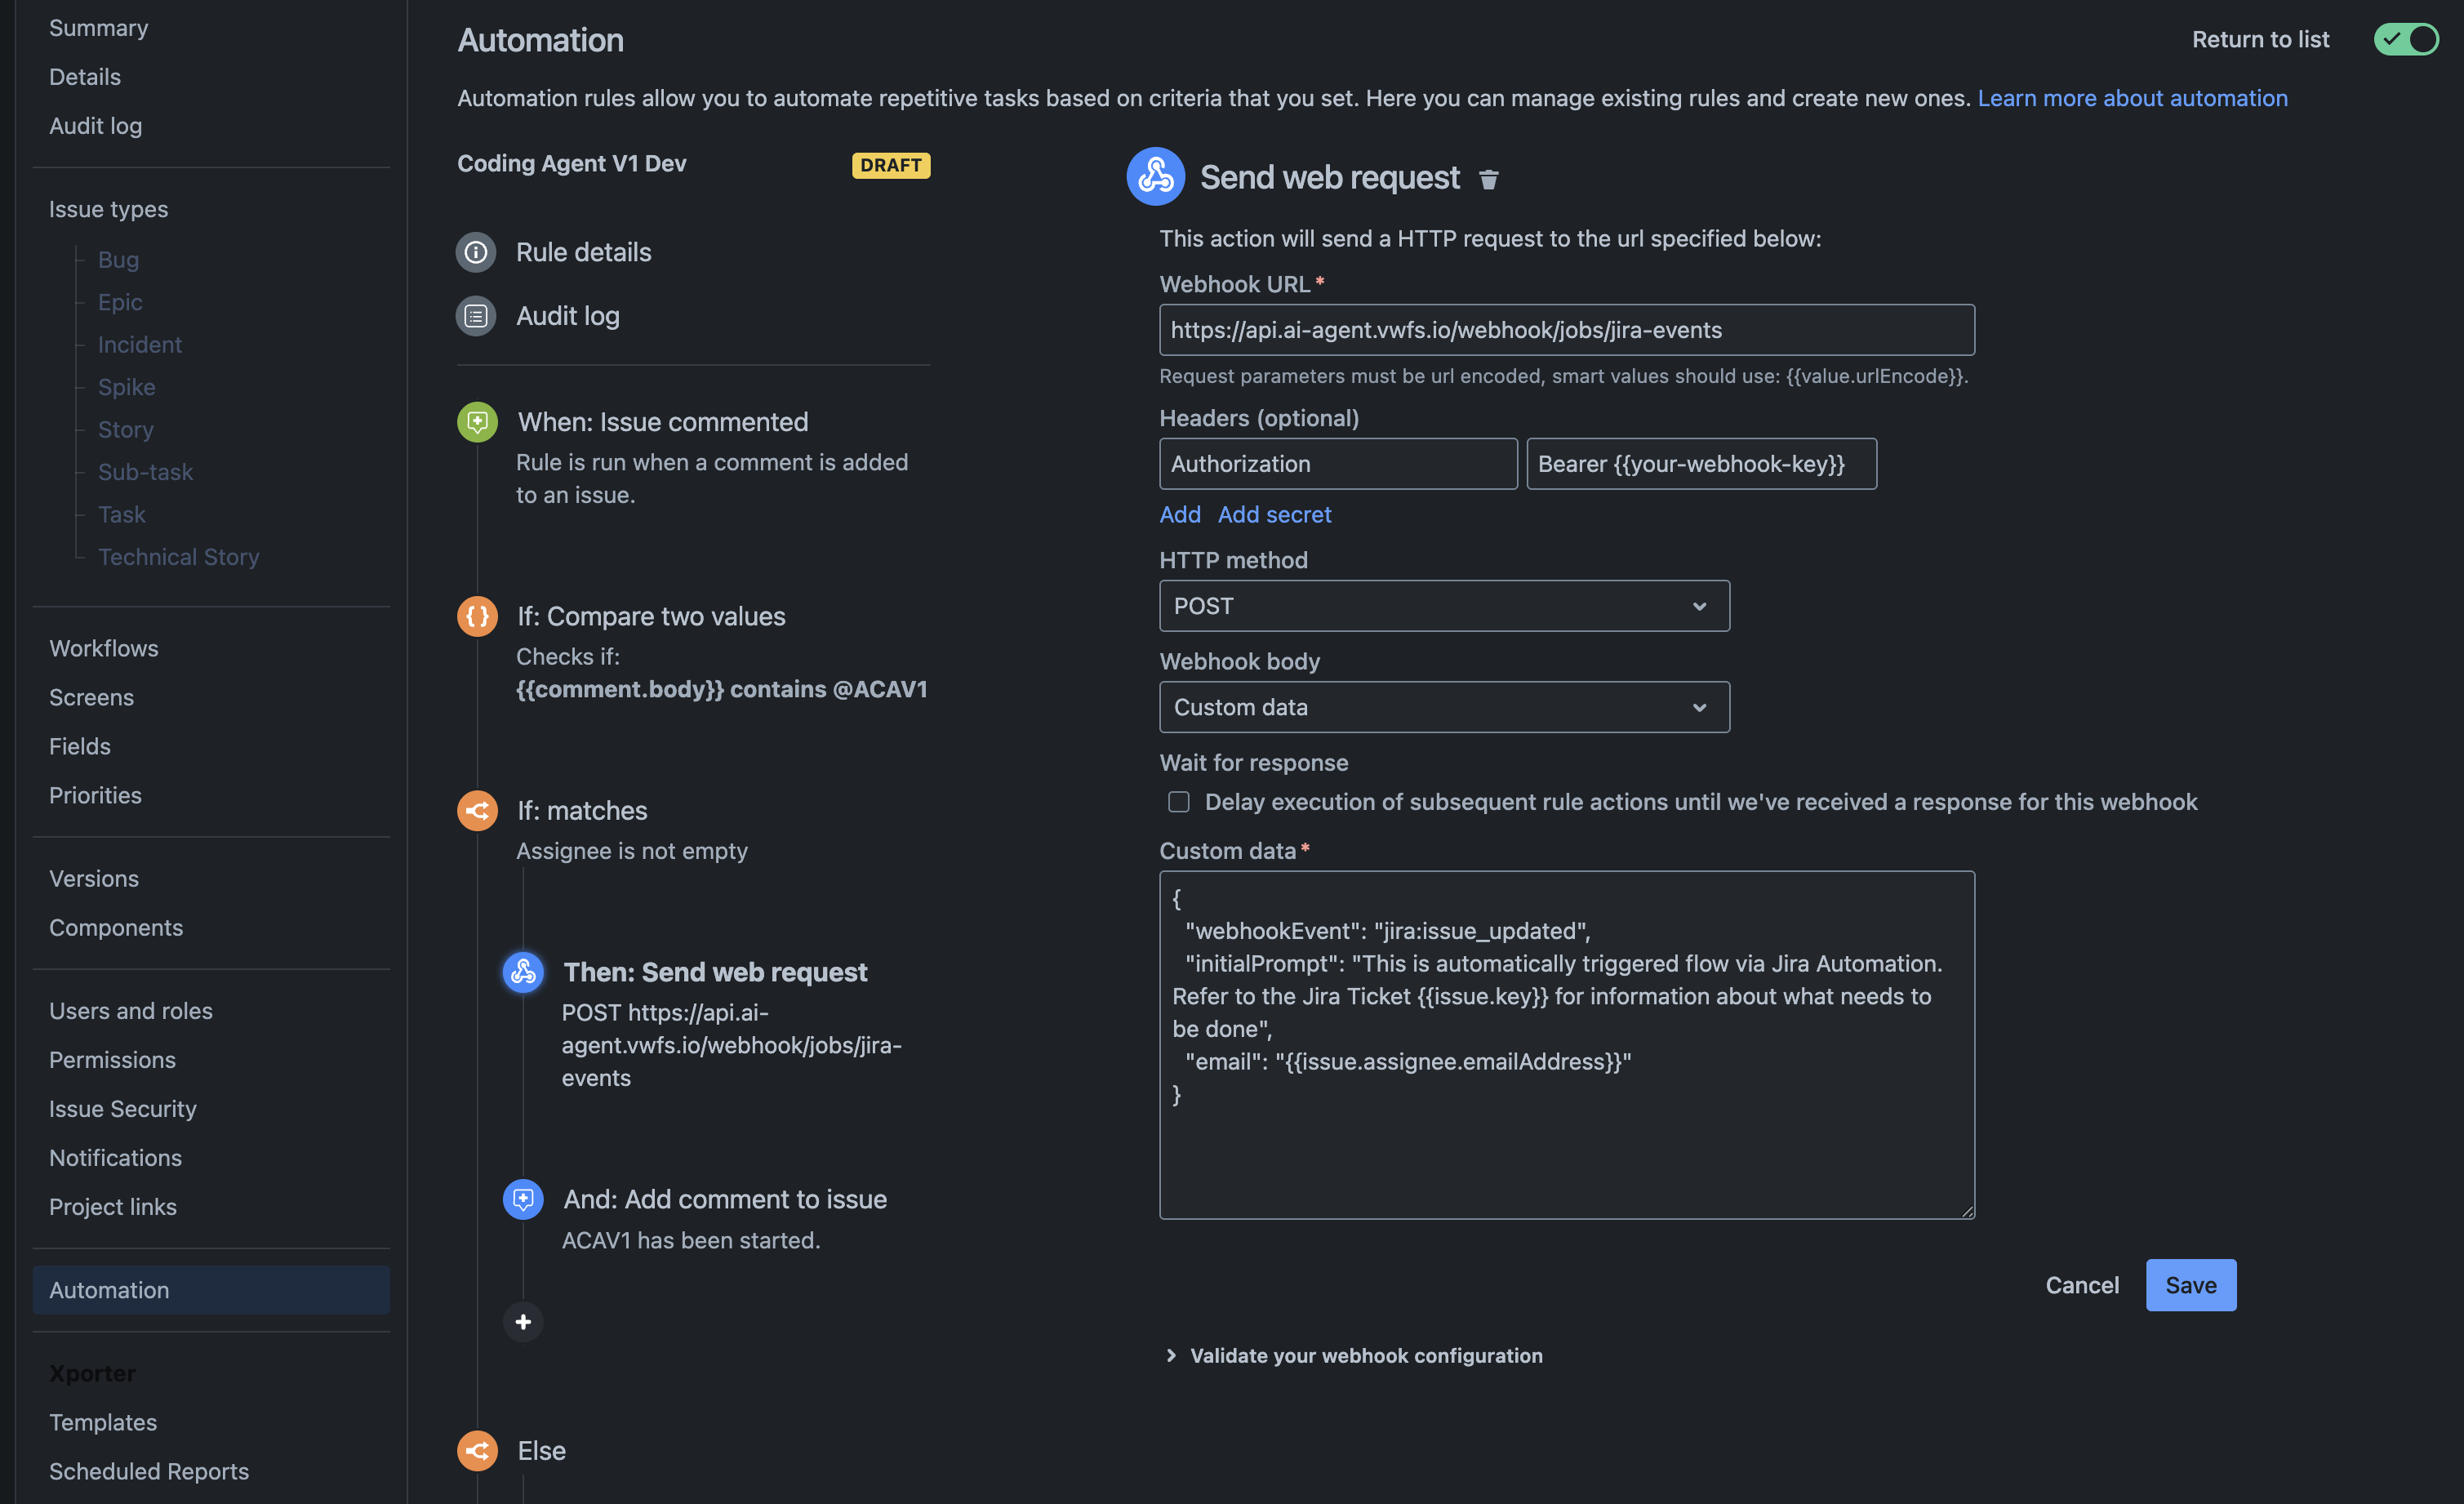
5. Send The Web Request
Add a Send web request action.
Use the webhook URL and Jira webhook key provided during onboarding. Configure the request body as custom data and send JSON.
Example payload:
{
  "webhookEvent": "jira:issue_updated",
  "initialPrompt": "This is automatically triggered flow via Jira Automation. Refer to the Jira Ticket {{issue.key}} for information about what needs to be done",
  "email": "{{issue.assignee.emailAddress}}"
}
The initialPrompt is the instruction passed to the agent. You can change the
text, but keep the Jira issue key in the prompt so the agent knows which ticket
to inspect.
The email field identifies the user context for the run. In this example, the
assignee email address is used.
6. Add An Else Block If Needed
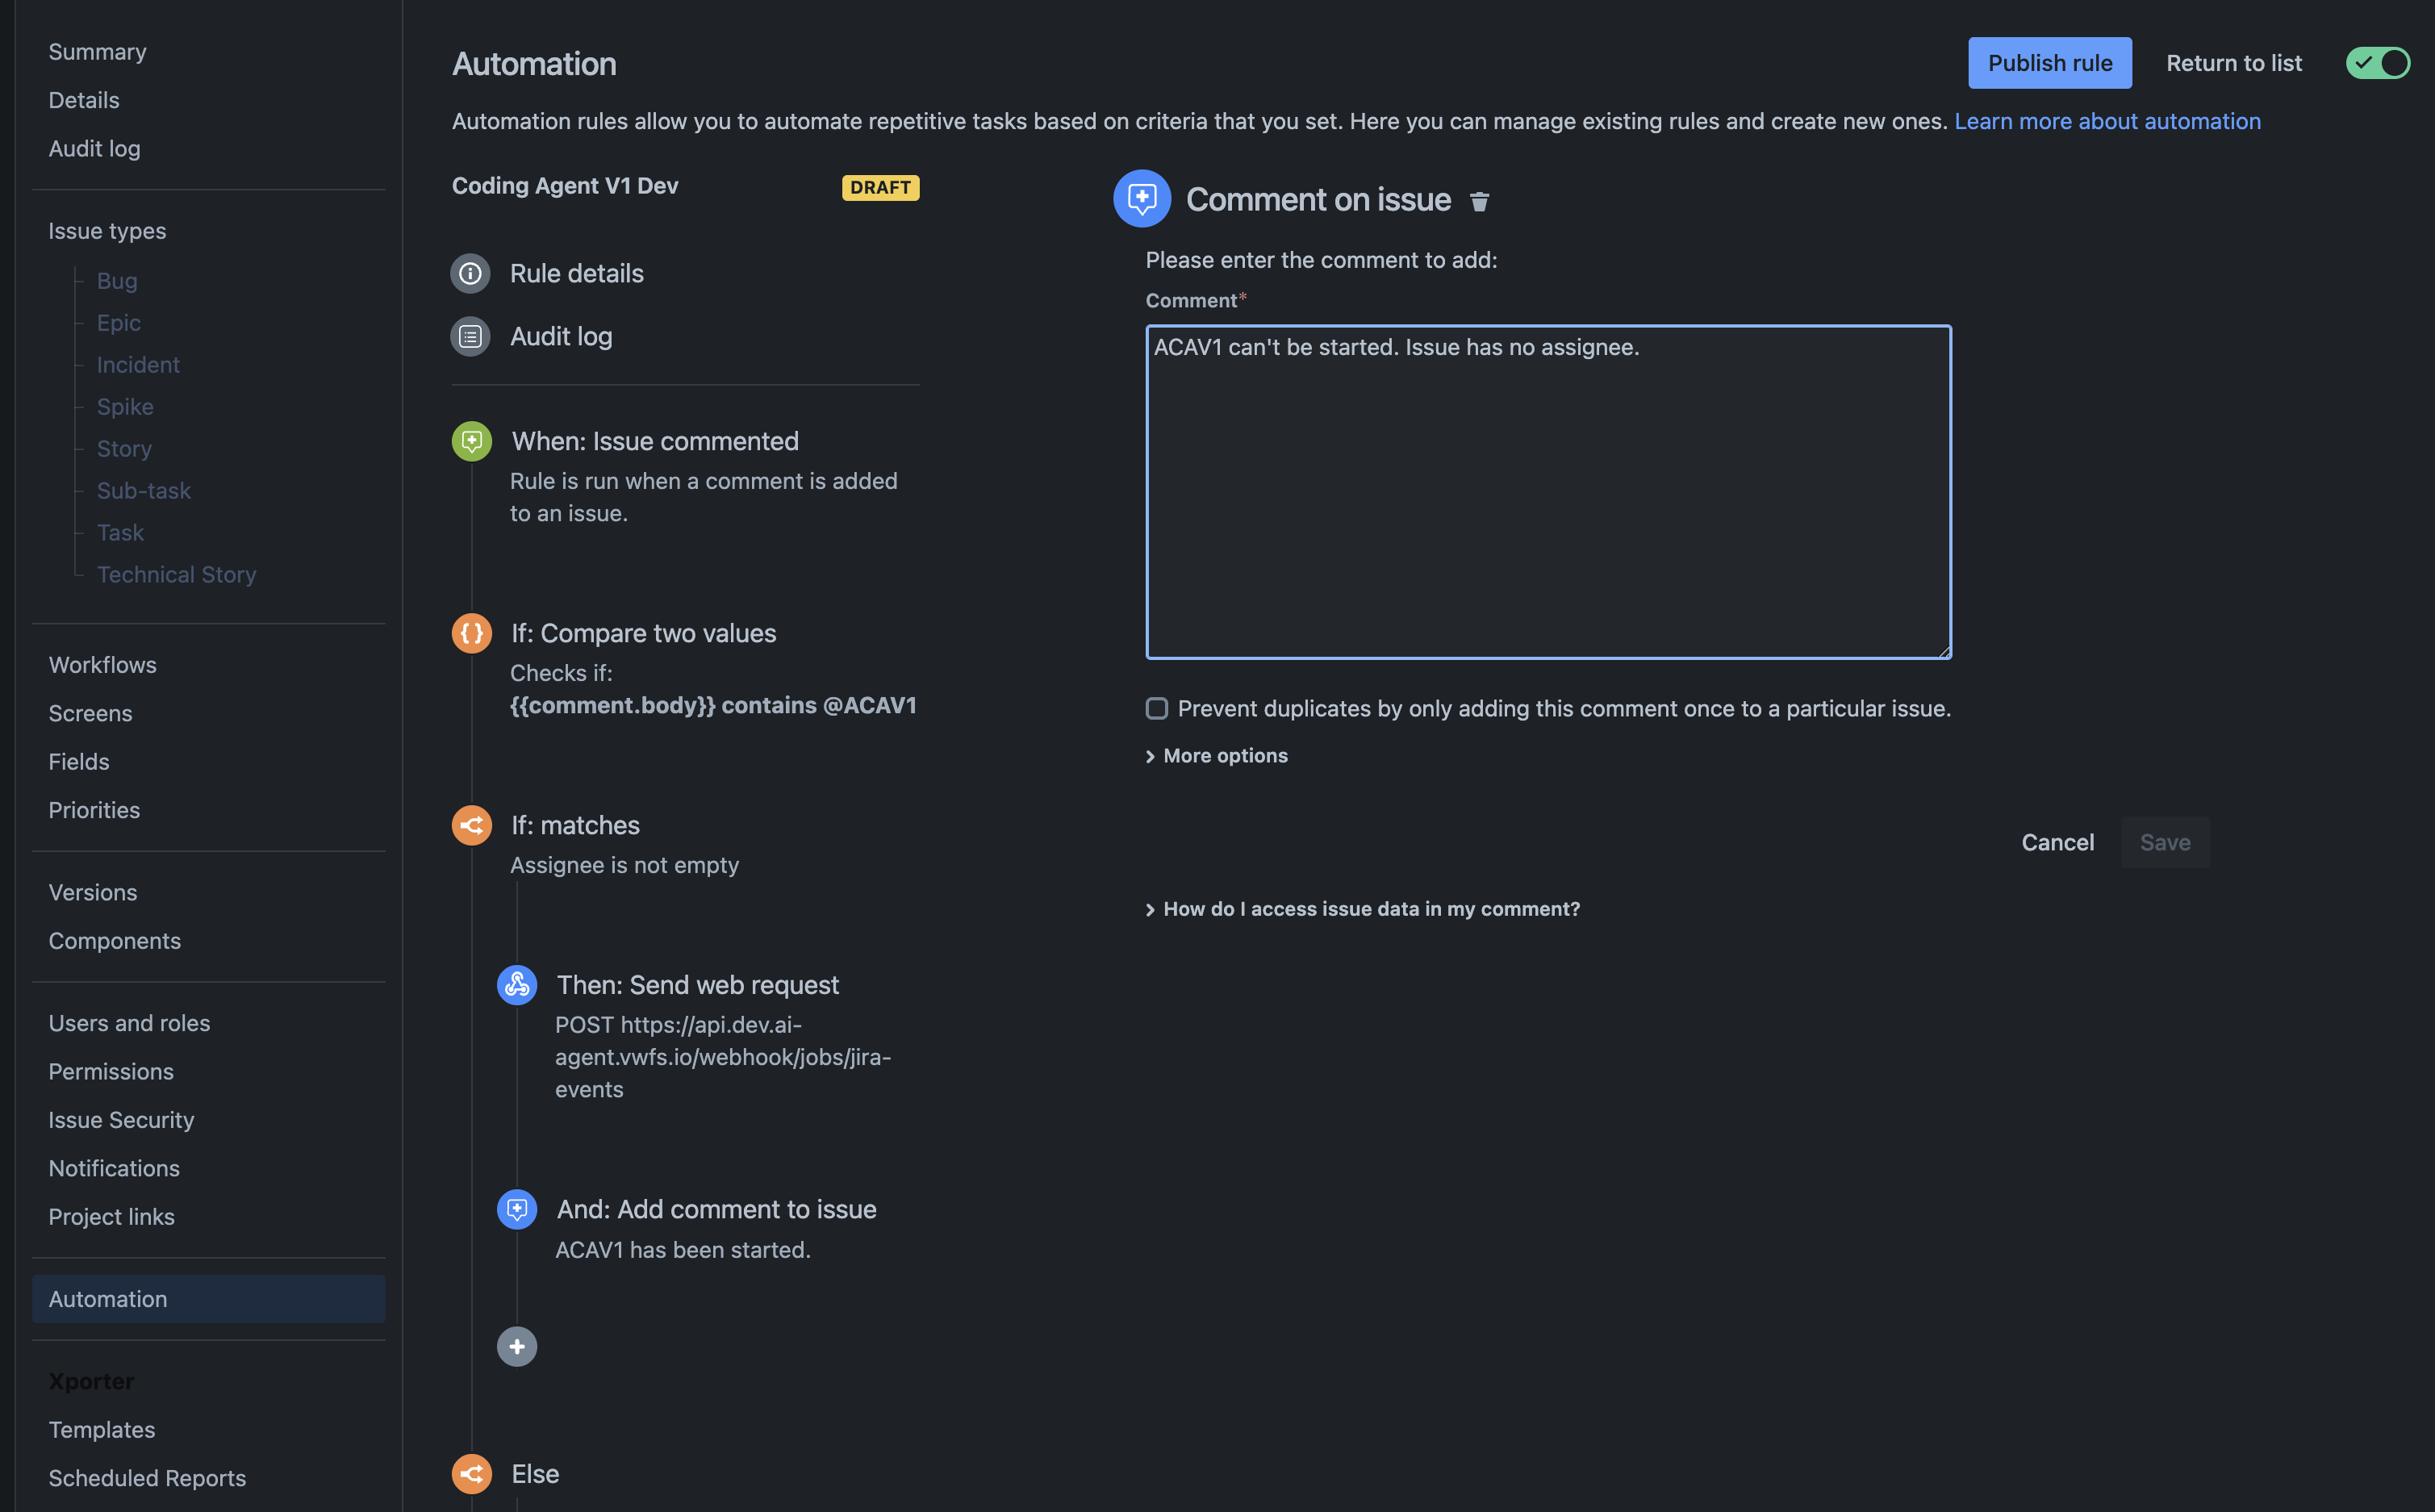
If your rule uses an if/else condition, configure the else block according to your team's workflow.
For example, the else block may do nothing, or it may add an internal comment explaining why the agent was not triggered.
Test The Rule
After saving the rule, test it on a Jira issue that belongs to the onboarded project.
Check that:
- The rule is enabled.
- The issue matches the configured trigger and conditions.
- The web request is sent successfully.
- The payload contains the expected Jira issue key.
- The agent starts only when the team expects it to start.
If the rule does not trigger the agent, review the Jira automation audit log first. It usually shows whether the trigger, condition, or web request failed.